Clip-in hair extensions have revolutionized the way we enhance our hair's length, volume, and overall style. Whether you're preparing for a special event or simply looking to switch up your daily look, clip-in extensions offer a quick and effective solution. But to achieve that seamless, natural look, it’s crucial to know the right way to apply them. In this guide, we'll walk you through the step-by-step process to ensure your clip-ins blend perfectly with your natural hair, making it easy for even beginners to achieve salon-worthy results at home.
Why Clip-In Hair Extensions Are Essential
Clip-in hair extensions are a must-have in any beauty arsenal. They offer the versatility to transform your hairstyle in minutes, without the commitment of permanent extensions. Whether you want to add length, volume, or a pop of color, clip-ins are the easiest and most non-invasive way to achieve your desired look. For those with Black hair, finding the right extensions that blend well can be a challenge. That’s why choosing the Best Clip In For Black Hair is essential to ensure your extensions look as natural as possible.
When selecting your clip-ins, quality is key. ONYC Hair, a leading provider of high-quality hair extensions, offers some of the best natural hair clip-ins on the market. Their extensions are crafted to mimic the texture and appearance of natural Black hair, making them an ideal choice for anyone looking to enhance their style without compromising on authenticity.
Step 1: Prepare Your Natural Hair
Before applying your clip-in extensions, it’s important to prepare your natural hair. Start by washing and conditioning your hair to ensure it’s clean and free of any product buildup. Once your hair is clean, dry it thoroughly, as clip-ins should never be applied to wet or damp hair.
Next, detangle your hair using a wide-tooth comb or a detangling brush. If your hair is naturally curly or kinky, you may want to stretch it out using a blow dryer or by braiding it overnight. This will make it easier to blend the extensions with your natural hair.
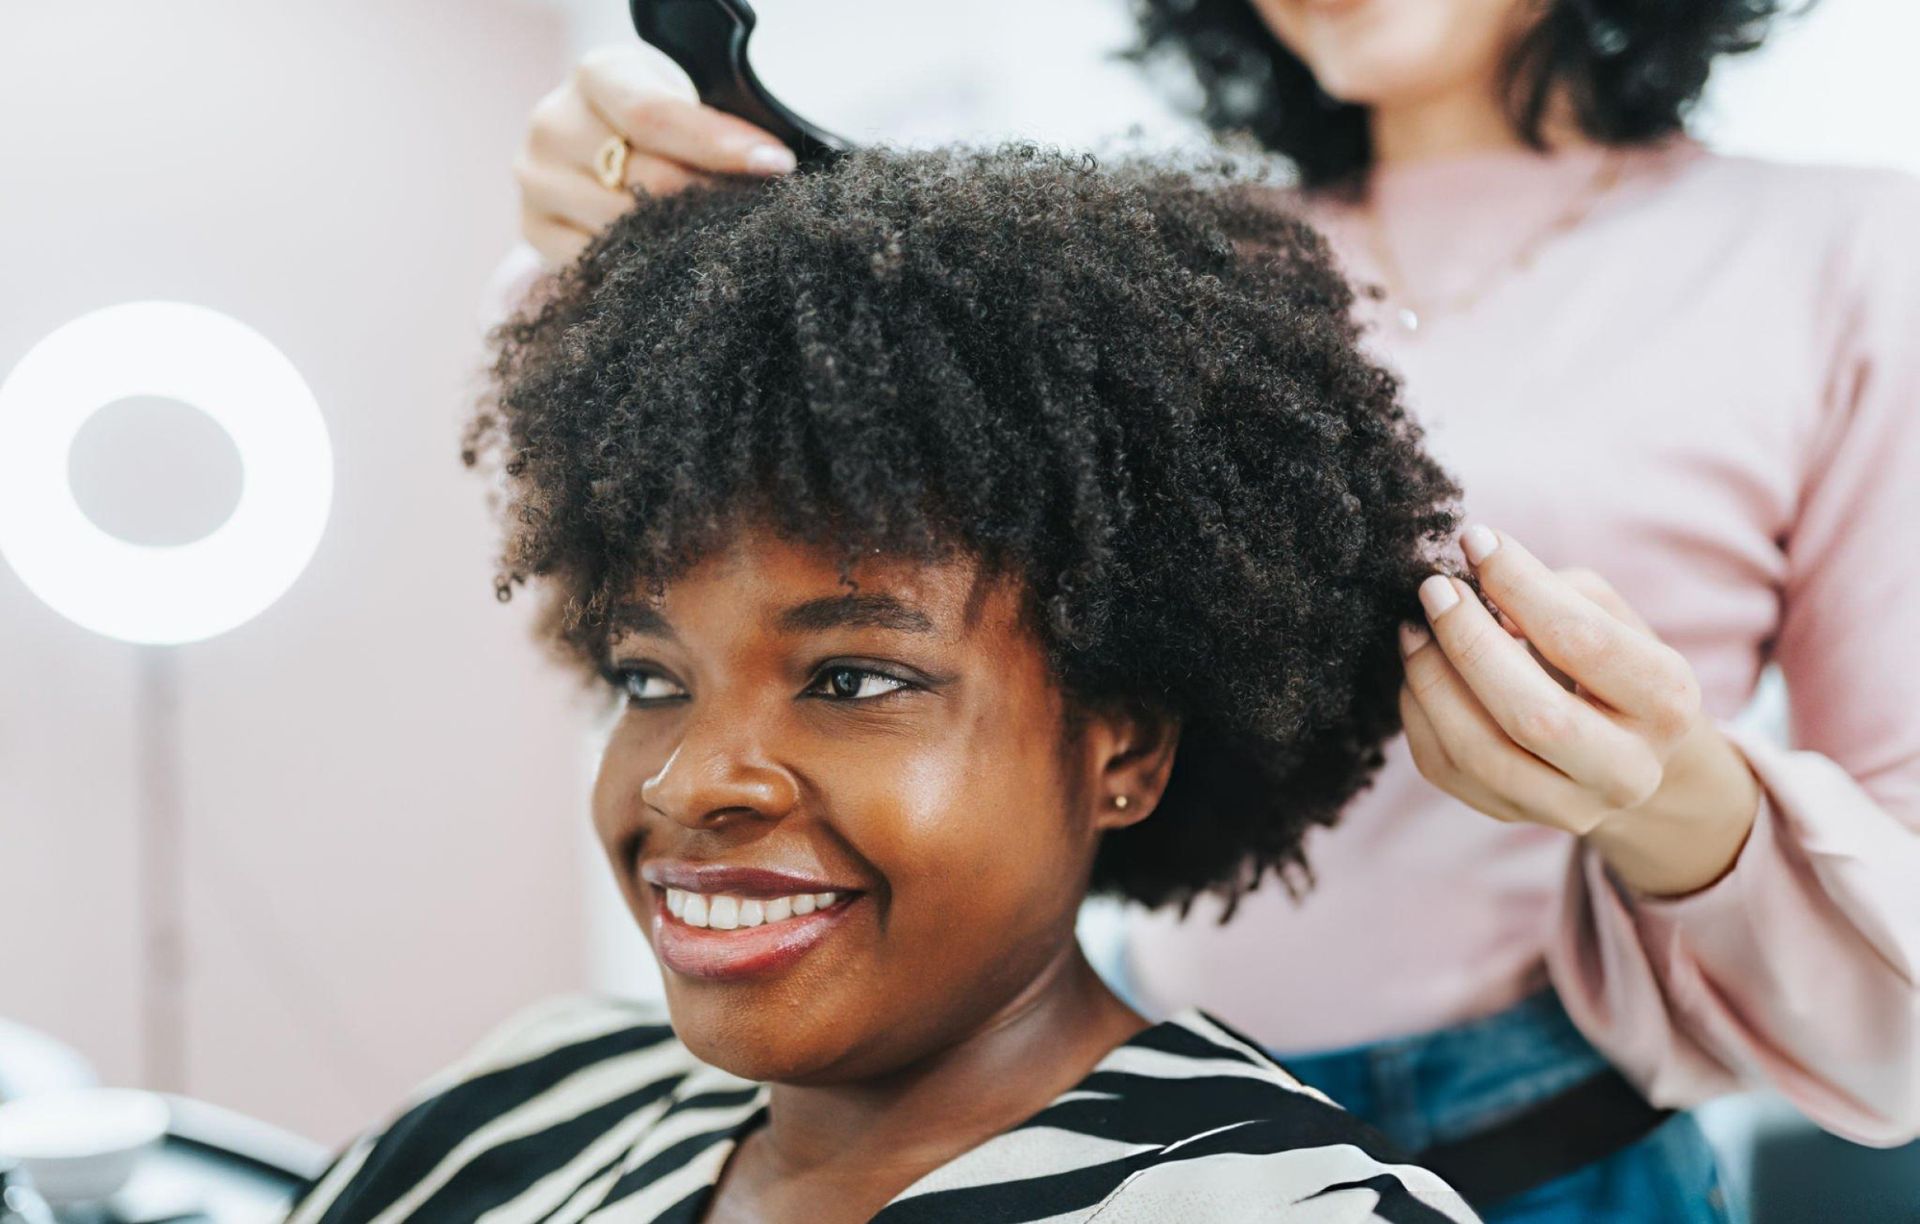
Step 2: Section Your Hair
Sectioning your hair is a crucial step in the application process. Start by parting your hair horizontally, just above the nape of your neck. Clip the rest of your hair up and out of the way. This first section will serve as the base where you will attach the first set of clip-ins.

Step 3: Attach the Clip-Ins
Now that your hair is sectioned, it’s time to attach your clip-in extensions. Start with the widest weft (the section of extensions with the most clips). Open all the clips on the weft and place it close to the roots of your natural hair. Gently press the clips down to secure them in place. It’s important to ensure that the weft is lying flat against your scalp to avoid any bumps or unevenness.
Repeat this process with the remaining wefts, working your way up the back of your head. Each time, section off a small amount of hair and attach the wefts just below the part. For a more natural look, stagger the wefts slightly rather than placing them directly on top of each other.
Step 4: Blend Your Natural Hair with the Extensions
Once all the wefts are securely in place, the next step is to blend your natural hair with the extensions. If your natural hair is straight, you can use a flat iron to smooth out any kinks or waves. For those with curly or textured hair, use a curling wand or rod set to blend your hair with the extensions.
To achieve a seamless blend, pay close attention to the ends of your natural hair. If they are significantly shorter than the extensions, consider trimming the extensions slightly to create a more uniform look. Additionally, using a lightweight hair serum or oil can help add shine and smoothness, ensuring that your natural hair and the extensions blend flawlessly.
Step 5: Style as Desired
With your clip-in extensions in place, you can now style your hair as desired. Whether you want to create loose waves, a sleek ponytail, or a voluminous updo, clip-in extensions provide the flexibility to achieve a wide range of styles. Just remember to be gentle when styling to avoid tugging or pulling on the clips, which could cause them to loosen or slip out of place.
Maintaining Your Clip-In Extensions
Maintaining the quality of your clip-in hair extensions requires a bit of care, but it’s well worth the effort to keep them looking their best. First and foremost, always remove your extensions before going to bed. Leaving them in overnight can lead to unnecessary tangling and matting, which can shorten their lifespan and make them more difficult to style. Once removed, it's important to store your extensions properly. A cool, dry place is ideal, and for added protection against frizz and damage, consider keeping them in a satin or silk bag. These materials are gentle on the hair and help preserve the smoothness and shine of the extensions.
When it comes to washing your clip-ins, choose a sulfate-free shampoo and conditioner. Sulfates can be harsh and strip the hair of its natural oils, which is especially problematic for extensions that don't receive the natural nourishment from your scalp. After washing, avoid using heat to dry the extensions; instead, let them air dry naturally. This gentle drying method helps maintain their texture and prolongs their longevity, ensuring that your clip-ins stay beautiful and ready to wear whenever you need them.
Conclusion
Applying clip-in hair extensions doesn’t have to be a daunting task. With the right preparation and technique, you can achieve a flawless, natural look that enhances your beauty and boosts your confidence. Whether you’re using them for a special occasion or as part of your everyday style, clip-ins are an essential tool for anyone looking to transform their hair in minutes.
For those searching for the best natural hair clip-ins, ONYC Hair offers top-quality options that blend seamlessly with Black hair, ensuring a perfect match every time. So, go ahead and experiment with your look, knowing that flawless, beautiful hair is just a few clips away!